
In celebration of Plastic Reimagined reaching 1,000 followers on our Instagram, we launched a giveaway for others making strides towards reducing plastic waste. The winner selected (Instagram handle @10doodlebug), shared the sustainability tip of reusing plastic bottles to sprout seeds in while also adding a preference of using clear bottles to see the roots forming better. The summer season is a great time to practice your green thumb, which is why we will be sharing a Do It Yourself (DIY) guide on how to grow your plants in a plastic bottle.
Materials Needed
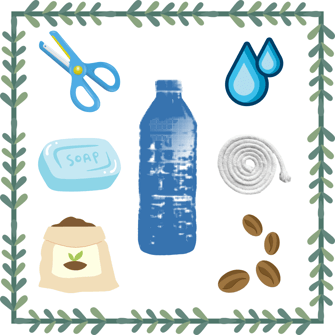
For starters, gather the materials you will need for the project. This includes: a plastic water bottle, scissors, a cotton wick, soil, plant propagules/seeds, soap, and water. Most of these items should be available around the house or can be purchased at a local store.
Cleaning Process
To begin your project, clean the bottle that you will be using as the planter. This includes removing the label and rinsing the bottle to rid the container of waste.
Once the label has been peeled off, remove the cap from the bottle and dismantle any additional parts.
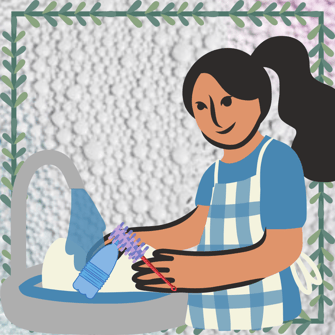
Once separated, each piece should be placed into a large container filled with hot, soapy water for cleaning. Allow the objects to soak for about 10 minutes prior to rinsing the pieces with water. If waste remains, repeat the soak process or scrub pieces with a cleaning brush.
After all parts for the planter have been cleaned, allow the parts to thoroughly dry before proceeding to the next step.
Bottle Construction Process
Once the bottle is clean and dry, put the cap back on so you can focus on constructing the bottle.
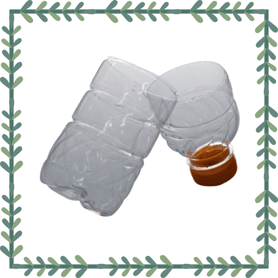
Grab your scissors to remove the topmost part of the bottle. Begin cutting the bottle around its shoulder (where the bottle begins to round off into the body from the neck) until it is completely detached from the bottom half of the bottle.
NOTE: The bottom half of the bottle will store water, while the top half will store the soil and seedlings being planted, but more on this later.
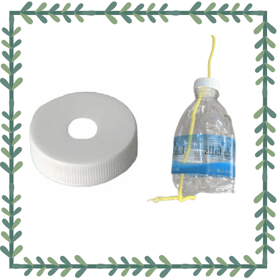
Next, cut a center hole into the bottle’s cap for drainage purposes to regulate moisture within the soil.
Lastly, thread the cotton wick through the hole you just created in the cap. It is important to ensure that the wick runs through the center of the top portion of the bottle and that there is an equal amount of wick on both sides of the cap. This arrangement will allow your planter to become self-watering as the cotton will soak the moisture and disperse it into the soil.
Filling the Planter
Following the reconstruction of the bottle, you will focus on filling both parts of the container to finalize the planter.
First, fill the bottom part of the bottle with water. Then, turn the top part of the bottle upside down and place it in the bottom container (Hint: the opening you previously cut will be pointed down)
Then, fill the inverted part of the bottle with a soil of your choice and begin to sow the seeds into the soil!

Final Steps
You may be wondering, so now what?
You will want to place your planter in an area with plenty of sunlight to optimize the growth of the seedlings. You will also want to consider labeling the planter so you can keep track of what's in your garden (most seedlings look identical in their beginning stages).
Over the next three to four weeks, germination (the process of a plant sprouting from a seed) should begin, and you will be on your way to having a developed green thumb. Be sure to keep the soil moist during this process and observe the growth of roots to gauge the health of the plant.
Once the seedlings have developed their first set of leaves, they should be transplanted and repotted into a larger container.
This is just one way to repurpose plastic containers, but there are many other methods that can be implemented to lower the plastic waste within our environment. Remember to reduce, reuse, recycle, and reimagine plastic as you use it responsibly. Happy planting!